


Kaffelogic
KAFFELOGIC Nano7
KAFFELOGIC Nano7
Couldn't load pickup availability
Proven in 20 Countries Worldwide! Compact Home Coffee Roaster

KAFFELOGIC Nano 7
Kaffelogic is a premium coffee roaster from New Zealand.
Since its launch in 2018, over 8,000 units have been enjoyed in more than 20 countries worldwide. The Nano 7 is a high-performance compact roaster that can roast as little as 50g. It can be used for everything from home hobbies to test roasting for baristas and cafes. With just one button, your ideal roast is complete in just 12 minutes.
In the sense of "why didn't I buy this sooner," it's one of those products you regret buying (in a good way).


Usage notes
IntroductionPlease read this before use to ensure safe and long-lasting use of this product.This manual summarizes important precautions to ensure the safety of you and your family and to maximize the product's performance.Please understand the contents carefully and use the product correctly.
- Read all safety instructions before use.
- This product is for indoor use only. Place the roaster in a well-ventilated area (with an open window, near a range hood or extractor fan, etc.).
- Place the roaster on a hard, flat surface, free from dust and debris, with ample space above the chaff collector.
- Do not put more coffee beans than recommended into the roaster as this may cause the beans to stop turning and may result in a fire.
- This product is designed to roast only green coffee beans. Attempting to roast other items (such as popcorn or nuts) may cause the safety features to malfunction, resulting in a fire or damage to the product.
- When using on an induction cooktop, make sure the product's legs are at least 20 mm higher than the surface of the induction cooktop by using a cutting board or thick mat, etc. This will prevent the induction cooktop from detecting the product as a pot.
- This product should only be used in a well-ventilated area (preferably near an extractor fan), at least 100mm horizontally from walls and 150mm horizontally from curtains.
- Make sure the air intake (bottom) or exhaust (top) vents are not blocked while using the appliance. Slower airflow will cause faster heating. If the safety device is activated during roasting, your coffee beans will be ruined. Also, completely blocking the airflow could damage the appliance or cause a fire.
- Keep the area around this appliance free from loose chaff and other floating debris that may be sucked into the roaster during use.
- Do not leave the product unattended while in use. This product is not intended to be operated by an external timer or a separate remote control system.
- Smoke detectors may be activated during normal use. If you need to temporarily disable your smoke detectors while using the coffee roaster, be sure to follow the smoke detector manufacturer's instructions. Do not use this product in commercial buildings where smoke detectors could activate sprinklers, cause the building to be evacuated, or require the fire department to be called.
- Please wait until the roast cycle has finished cooling down before removing the chaff collector.
- Do not submerge the base unit in water. Wipe it with a damp cloth if necessary. Water will damage the electronics. See the Care section for cleaning instructions.
- If liquid gets into the roasting chamber or any other part of the appliance, unplug it and leave it in a warm place for 24 hours to dry completely before using it again.
- In case of malfunction, the power cord should be replaced by a qualified technician. Do not open the case to avoid risk of electric shock.
- If the same error message keeps appearing on your display, contact your distributor or visit kaffelogic.com/help .
- If any foreign matter (rice, flour, liquid, etc.) gets into the roasting chamber, have a service technician disassemble and clean the appliance before using it again.
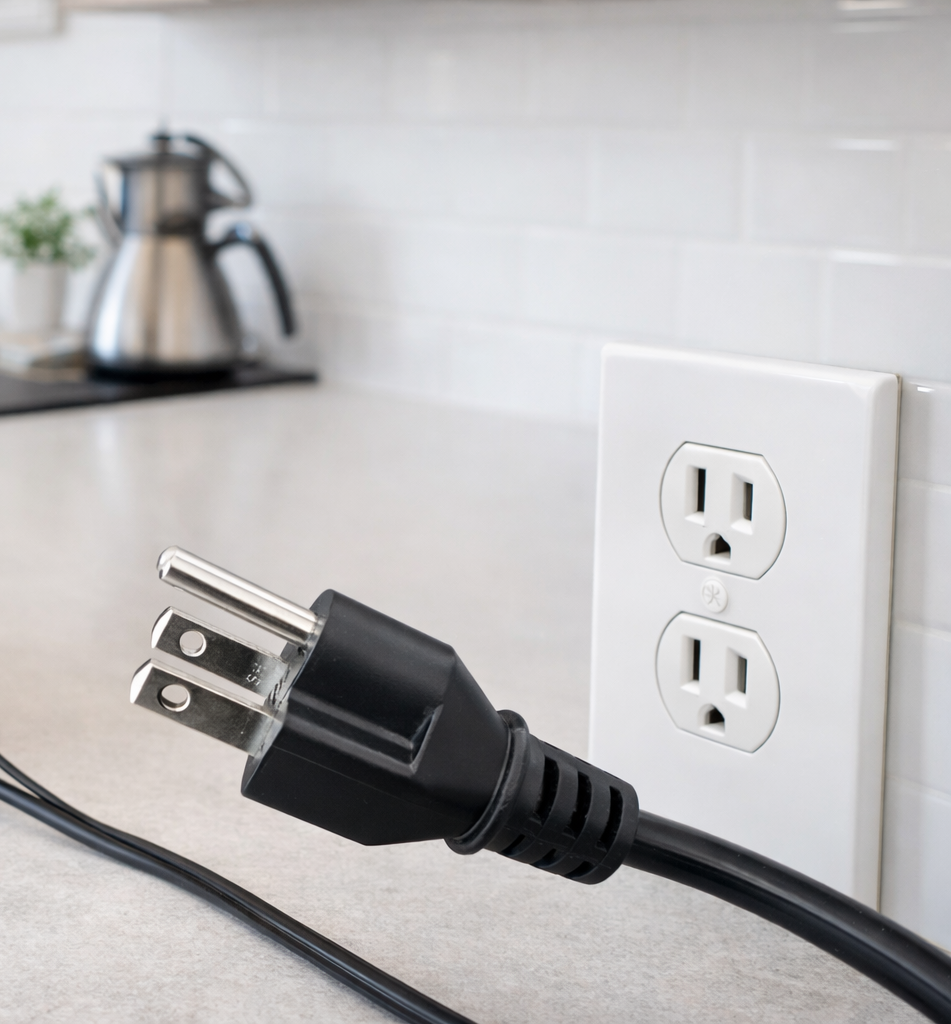
- We recommend connecting the roaster directly to a power outlet without using an extension cord.
Product Specifications
| Model Number | KN1007B/J-JP Japan-specific model |
| Roasting Method | Hot Air Roasting (Fluidized Bed Aero Roast) |
| Recommended Roasting Amount | 100-120g (green beans) / 80-100g (after roasting)
When using BOOST KIT: 50-200g (green beans) Sold separately ¥33,000
|
| Approximate Roasting Time | Approx. 10-12 minutes (varies by profile and roasting amount) |
| Approximate Cooling Time | Approx. 4 minutes |
| Dimensions (W×D×H) | 125 × 125 × 280 mm
When chaff collector is attached: Height 430 mm
|
| Weight | 3.6 kg |
| Power Supply | AC 100-110V / 50-60Hz |
| Power Consumption | 1,300-1,400W |
| Safety Certification |
PSE Mark acquired
Compliant with the Electrical Appliance and Material Safety Act (Japan)
|
| Material | Body: Powder-coated steel
Fittings: Nylon PA66 / Roasting chamber: Aluminum
|
| Manufacture | Made in New Zealand
Kaffelogic Ltd, Dunedin, New Zealand
|
| Temperature Control Method | PID control |
| Profile Management | Kaffelogic Studio (PC software, free) |
| Preset Profiles | 12 types (Light Roast to Italian Espresso) |
| Roasting Log | Automatic recording, viewable on PC via USB |
| Safety Features | Automatic shutdown upon anomaly detection (unattended operation compatible) |
| Continuous Roasting | Can start next batch immediately after cooling |
| Product Warranty | 2 years from date of purchase (genuine product for Japan) |
| Repair / Maintenance | All parts replaceable, can be disassembled with standard tools |
| Support Contact | info@kaffelogicjp.com |
Warranty and repairs
2-Year Manufacturer's Warranty from Date of Purchase
Applies to products purchased from an official retailer in Japan (kaffelogicjp.com)
- Free repair for breakdowns/defects under normal use within the warranty period
- Warranty applies only if used according to the instruction manual
- Modifications, disassembly, or use of non-genuine parts will void the warranty

How to roast
This page explains the basic way to roast coffee using the Kaffelogic Nano 7. The operation is very simple. Let's try roasting by referring to this first.

Setup Instructions

- Place the unit in a well-ventilated area (e.g., near a window or under an extractor fan).
- Place the unit on a stable, flat surface.
- Ensure sufficient space around and above the main unit.
Also, the main unit has a structure through which air flows. Please be careful not to block the intake and exhaust parts with a tablecloth or cloth.
STEP 1 | Weigh the green beans

The Kaffelogic Nano 7's default setting uses 120g of green beans. We recommend starting your roast with 120g as a benchmark.
STEP 2 | Load beans and attach the chaff collector
Add the weighed green beans to the roaster. Then, securely attach the chaff collector from the top. Make sure the lid is properly seated.

STEP 3 | Perform Fan Preview
Fan Preview is a function to check the circulation of beans before roasting.
With 120g of beans loaded, press the "≡ (Menu)" button on the right side of the unit and select "Fan Preview."
The fan will activate, and you can observe the movement of the beans.
Specifically,
- Are the beans circulating gently as a whole?
- Are the beans in the center slowly being replaced?
Please check.
Performing a Fan Preview correctly will:
- Prevent thermal runaway
- Reduce uneven roasting
- Improve roast repeatability
This will lead to.
STEP 4 | Power On
Once you have confirmed the bean circulation with Fan Preview, next select a roasting profile.
For your first roast, we recommend "KL Explorer", Kaffelogic's standard profile. KL Explorer is an all-around standard profile compatible with a wide range of coffee beans. Start by using KL Explorer to experience basic roasting with Kaffelogic.
STEP 5 | Start Roasting
Press the ▶ button to start roasting. Roasting proceeds automatically, but for safety, do not leave the area during roasting.
During Roasting
Kaffelogic automatically controls temperature, time, and airflow. Generally, you just need to monitor it.
After Roasting | Cooling and Removing Beans
When roasting is complete, the machine automatically begins to cool down. After the cooling is completely finished, remove the chaff collector and take out the roasted beans. Check that no beans remain in the roasting chamber and gently shake if necessary.

Enjoying Your Roasted Coffee
Next Steps
- Enjoy the difference in taste between light and dark roasts by changing the level.
- Try a different profile.
- View roast logs in Kaffelogic Studio.
There is no "right answer" to roasting. Please find the taste that suits your preference.
Fan Preview

Fan Preview is a function to check the circulation status of beans before roasting. It does not heat, but only activates the fan to check the movement of beans inside the roasting chamber.
To operate, simply access it from the "≡ (Menu) button" on the main unit.
Why Fan Preview is important
In Kaffelogic, one of the crucial factors influencing roast quality is "proper bean circulation."
Normally, the fan is automatically controlled based on calibration, but:
- Differences in bean density
- Changes in batch size (input amount)
can sometimes prevent ideal circulation. By using Fan Preview, you can check the status before roasting and make adjustments as needed.
How to check bean circulation
- Weigh 120g of green beans and load them into the roaster.
- Attach the chaff collector.
- Select the K-logic Classic profile.
- Press the "≡" button.
- When "Press ⏵ now for fan preview" is displayed, press the ⏵ button.
→ The fan will activate. - The display will show "120g" and "14700 rpm". If not displayed, adjust to these values using the + / - buttons.
- Check the bean circulation status.
Ideal fan level
- Ideally, the beans should circulate gently.
- Pay particular attention to whether the beans in the center are slowly rotating and exchanging positions.
Fan level is too strong
Fan level is insufficient
How to handle strong or weak bean circulation
If you are not getting sufficient circulation, please follow the steps below to adjust.
Adjust light and dark roasts
Same beans, different taste.
How to Adjust Light and Dark Roasts with Kaffelogic


With Kaffelogic, even with the same coffee beans, by changing the roast level, you can enjoy:
- Fruity and bright flavors
- Sweet medium roast
- Dark roast with a chocolatey feel
Here, we'll explain the basic adjustment methods for Kaffelogic.
STEP 1 | Turn on the power
Turn on the Kaffelogic.
STEP 2 | Select a profile
Press "Profile Selection" on the screen to display the desired profile.
This time, we will use
KL Explorer as our baseline profile.
STEP 3 | Adjust the roast level
Once KL Explorer is displayed, press the "+ / − buttons" on the unit to adjust the roast level.
How to interpret the levels
- Smaller number → Lighter roast
- Larger number → Darker roast
This is how it works.
Convenient Features of Kaffelogic
By performing this level adjustment,
based on the KL Explorer profile,
- Roasting temperature
- Roasting time
will be automatically adjusted.
In other words, a major feature of Kaffelogic is that you can change the roast level simply by adjusting the level, without having to make detailed changes to complex temperature settings.
Adjustable range
- Lightest setting → 0.1
- Darkest setting → 5.9
This is the range.
Recommended initial settings
Initially, we recommend trying:
- 1.5-2.0 → Lighter roast
- 2.5-3.5 → Medium roast
- 4.0 or higher → Darker roast
as a guideline.
Even with the same beans, simply changing the level can significantly alter the impression of aroma, acidity, sweetness, and bitterness ☕️
Adjustable even during roasting
With Kaffelogic, you can adjust the roast level even during roasting, while observing the beans' condition.
During roasting, by checking the:
- Bean color
- Aroma
- Smoke output
- Progression of cracking
you can immediately change the roast level by pressing the "+ / − buttons" on the unit.
For example, even if you feel:
- "I want it a bit lighter"
- "I want more sweetness or body"
- "I want to extend it a bit darker"
it's possible to make adjustments during the roasting process.
Roast lightly.
With Kaffelogic, you can record the "Color Change" and "First Crack" timings that occur during roasting directly from the unit.
These records are useful for adjusting profiles and analyzing roasting results.
Recording Color Change

When the beans start to change color during roasting, perform the following steps:
- Press the "≡" (three lines) button on the unit.
- Press the "-" button to display "Color Change".
- Press the "▶" button.
This will record the color change timing.
Recording First Crack

When the first crack begins, perform the following steps:
- Press the "≡" (three lines) button on the unit.
- Press the "▶" button.
This will record the first crack timing.
Utilizing the Records
By recording the timing of color change and first crack, you can adjust your roast profile while comparing it to the actual bean reaction.

Please use this feature when repeatedly roasting the same beans or when creating new profiles.
How to Check Recorded Timings
When you record Color Change and First Crack, you can check them on the Studio graph after roasting.
On the profile, the predicted timings for Color Change and First Crack are displayed. The timings actually recorded during roasting are also displayed on the graph, allowing you to compare the profile's predictions with the actual roasting results.
- Left yellow vertical line: Predicted timing of Color Change
- Right dark yellow vertical line: Predicted timing of First Crack
- Triangular marks on the graph: Actual recorded timings of Color Change and First Crack during roasting
By comparing predicted and actual values, it becomes easier to understand the differences between the profile and the bean's reaction.
Please use this information as a reference when you want to improve the reproducibility of the same beans or when creating new profiles.
Adjust DTR
DTR (Development Time Ratio) is an indicator that shows the ratio of the time from the start of First Crack to the end of roasting to the total roasting time.
By adjusting the DTR, you can control the roast level from light to dark.
DTR Guidelines
The following DTR values are general guidelines:
- Light Roast: 15-18%
- Medium Roast: 18-22%
- Dark Roast: 22% or more
*The optimal value varies depending on the type of beans and personal preference. Please consider these as reference values only.
How to Check DTR with Kaffelogic
When you record the First Crack during roasting, the display screen will switch and the current DTR will be shown in real time.

By looking at this value, you can determine whether to aim for a light, medium, or dark roast.
Ending the Roast Early
If you wish to end the roast earlier than planned, perform the following operations:
- Press the "▶" button
- Then press the "-" button
Performing these operations will end the roast at that point.
Continuing the Roast Further
Many profiles have a DTR pre-set. For example, if the DTR is set to around 15-18%, the roast will automatically end when that value is reached.
However, you may sometimes feel the need to continue roasting a little longer after checking the actual color and aroma of the beans.
In such cases, press the "+" button.
This extends the roast completion time, allowing you to manually adjust the roast level while checking the condition of the beans.
Utilizing for Profile Creation
After the roast is complete, you can check the time First Crack started and the final DTR from the log screen.
By recording the roasting results that achieved your preferred taste, you can utilize this information for creating and adjusting profiles in the future.
DTR is an important indicator for improving the repeatability of roasting. Please record your DTR values and find your ideal roast.
```